
GitHub Copilot is an AI-powered code suggestion tool that helps developers write code faster by providing context-aware code completions. Integrated directly into popular IDEs like Visual Studio, it makes coding more efficient and intuitive. If you’re a beginner and looking to get started with GitHub Copilot in Visual Studio, this guide will walk you through the installation process. We’ll also cover how to install Copilot in Visual Studio on different platforms, including macOS and Android, and address some frequently asked questions about using Copilot in your development workflow.
Let’s dive in and learn how to install Copilot in Visual Studio and make the most of this revolutionary tool!
What is GitHub Copilot?
GitHub Copilot is an AI-powered tool developed by GitHub and OpenAI. It serves as a virtual coding assistant, generating code suggestions based on your input. By analyzing millions of open-source code repositories, Copilot is able to predict what code you might need next, making it an invaluable asset for developers of all skill levels.
Copilot works by offering suggestions that are context-sensitive, meaning it understands the code you’ve written so far and adapts its recommendations accordingly. Whether you’re writing new code or revisiting an old project, Copilot helps by reducing the time it takes to write complex functions or find bugs, leading to increased productivity and more efficient development.
Why Use GitHub Copilot in Visual Studio?
Visual Studio is one of the most popular integrated development environments (IDEs) among developers, offering a rich set of tools for coding, debugging, and deploying applications. When you integrate GitHub Copilot into Visual Studio, you gain access to:
- Code Suggestions: Copilot automatically suggests code snippets and completions, saving time and reducing errors.
- Contextual Awareness: Copilot understands the context of your code, meaning its suggestions are highly relevant.
- Cross-Language Support: Whether you’re coding in Python, C#, JavaScript, or other languages, Copilot can assist you.
- Productivity Boost: With Copilot’s help, you can write code more efficiently, freeing up time for problem-solving and improving your overall productivity.
Installing Copilot in Visual Studio will empower you with a smarter and faster coding experience.
System Requirements
Before installing GitHub Copilot in Visual Studio, make sure your system meets the following requirements:
For Windows:
- OS: Windows 10 or later.
- Visual Studio Version: Visual Studio 2022 or later.
- RAM: Minimum 4 GB of RAM (8 GB recommended).
- Disk Space: 1 GB free space for Copilot extension.
For macOS:
- OS: macOS 10.14 or later.
- Visual Studio Version: Visual Studio for Mac 2022 or later.
- RAM: Minimum 4 GB of RAM (8 GB recommended).
- Disk Space: 1 GB free space for Copilot extension.
How to Install Copilot in Visual Studio (Windows)
Installing GitHub Copilot in Visual Studio on Windows is a straightforward process. Follow the steps below:
Step 1: Install Visual Studio
If you haven’t already, download and install Visual Studio from Microsoft’s official site. Make sure to install Visual Studio 2022 or later, as Copilot is compatible with this version.
Step 2: Install the GitHub Copilot Extension
- Open Visual Studio: Launch Visual Studio after installation.
- Go to Extensions: Click on Extensions in the top menu and select Manage Extensions.
- Search for GitHub Copilot: In the search bar, type GitHub Copilot.
- Install the Extension: Once you find the extension, click Download and then follow the on-screen prompts to install it.
- Restart Visual Studio: After installation, restart Visual Studio to enable the extension.
Step 3: Sign in to GitHub
After the restart, you’ll need to sign in to your GitHub account to use GitHub Copilot.
- Sign In Prompt: A sign-in prompt will appear. Enter your GitHub credentials.
- Subscription: GitHub Copilot requires a subscription, so ensure you have an active plan. If you don’t, you can sign up for a free trial.
Once you’re signed in, Copilot will be fully integrated into your Visual Studio environment, and you’re ready to start coding!
How to Install Copilot in Visual Studio (macOS)
The process to install GitHub Copilot in Visual Studio for macOS is very similar to Windows. Here are the steps:
Step 1: Install Visual Studio for Mac
Download and install Visual Studio for Mac. Ensure you’re using version 2022 or later.
Step 2: Install the GitHub Copilot Extension
- Open Visual Studio for Mac: Launch the application.
- Go to Extensions: Click on Visual Studio in the menu bar, then select Extensions.
- Search for GitHub Copilot: Type GitHub Copilot in the search bar.
- Install the Extension: Click Install next to the GitHub Copilot extension.
- Restart Visual Studio: Restart the IDE to apply the changes.
Step 3: Sign in to GitHub
Once the extension is installed, sign in to your GitHub account to activate Copilot. Follow the same steps as you would on Windows to complete the sign-in process.
How to Install Copilot in Visual Studio (Android)
Currently, GitHub Copilot is available for use on desktop IDEs like Visual Studio and Visual Studio Code. However, there isn’t an official version of GitHub Copilot for Android Studio or mobile devices. If you are using Android Studio, you may want to consider using Copilot in VS Code or Visual Studio on your desktop to take advantage of Copilot’s features.
How to Enable GitHub Copilot?
After installing the GitHub Copilot extension, you may need to enable it in your project settings. Here’s how to do it:
- Go to Tools > Options: In Visual Studio, navigate to the Tools menu and click on Options.
- GitHub Copilot Settings: Under the Text Editor section, find GitHub Copilot.
- Enable Suggestions: Make sure that suggestions are enabled. You can customize how Copilot provides suggestions, whether it’s automatically or when you press a specific keyboard shortcut.
You can now start seeing code suggestions from GitHub Copilot in your editor!
How to Get GitHub Copilot for Free?
GitHub Copilot is a paid service, but there are some ways to access it for free:
- Free Trial: GitHub offers a 30-day free trial for Copilot, which allows you to explore all its features.
- Student Access: If you are a student, you can get GitHub Copilot for free through the GitHub Student Developer Pack.
- Open-Source Contributors: GitHub Copilot is also free for verified maintainers of popular open-source repositories.
To access the free trial or student plan, sign up on the GitHub Copilot website.
FAQ
How do I install Copilot?
To install GitHub Copilot in Visual Studio, follow the installation steps for your platform (Windows, macOS) outlined earlier in this guide. Ensure you have Visual Studio 2022 or later installed.
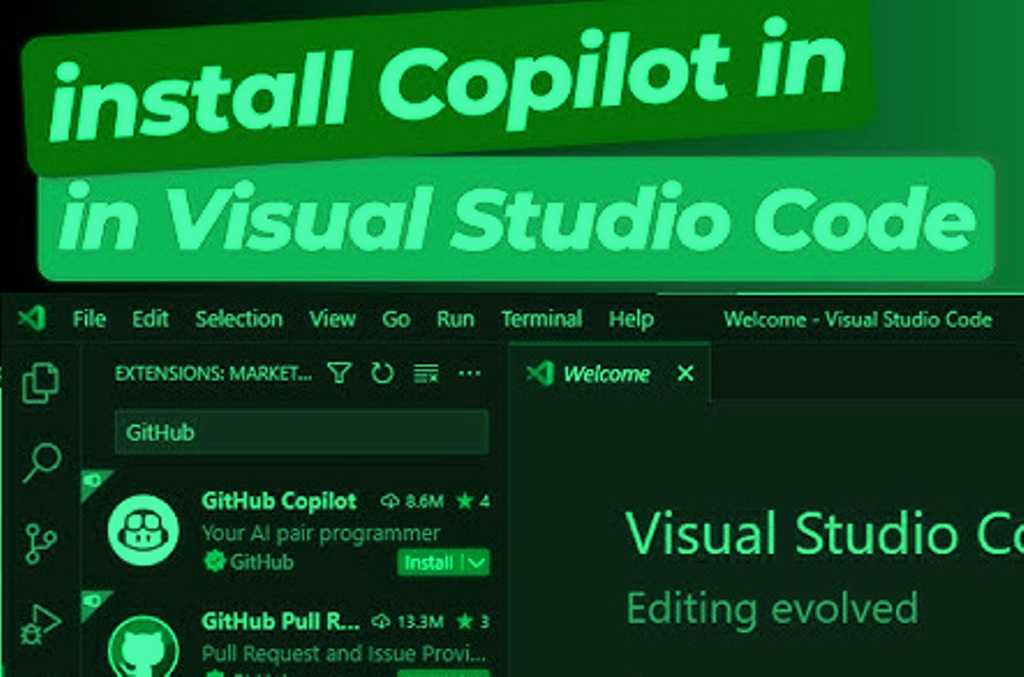
How to install GitHub Copilot in VS Code?
In Visual Studio Code, you can install GitHub Copilot via the Extensions view. Search for “GitHub Copilot,” click Install, and sign in to your GitHub account to start using it.
How can I enable Copilot?
Once installed, GitHub Copilot should be automatically enabled. You can enable or disable it in the Visual Studio settings under Tools > Options > GitHub Copilot.
How do I install Copilot in VS Code for free?
You can install GitHub Copilot in VS Code for free by signing up for the 30-day trial or using GitHub’s student plan.
Conclusion
GitHub Copilot is a game-changing tool for developers, offering real-time code suggestions that can save you time and increase productivity. Whether you’re using Visual Studio on Windows, macOS, or exploring Copilot in VS Code, the setup process is easy to follow and provides instant benefits. With a free trial available and free access for students and open-source contributors, there’s no reason not to try GitHub Copilot in your next project.
If you found this guide helpful, feel free to share it with your fellow developers and leave a comment below. Ready to enhance your coding experience? Install GitHub Copilot today and experience the future of programming!
Read Also : How to Install Nginx on Ubuntu?