In the world of design and creativity, fonts are more than just text; they serve as the voice and personality of any project, whether it’s for a business, personal brand, or simply for fun. The ability to customize fonts on your devices, especially on iPhones, opens up a whole new realm of possibilities. Whether you want to enhance your social media posts, create a unique design for an invitation, or use different fonts in your documents, install fonts on iphone can give your work a distinct edge.
This guide will walk you through the step-by-step process of install fonts on iPhone. We’ll cover how to install custom fonts for your apps, how to manage them, and some helpful tips on making the most of your font library. But first, let’s understand why customizing fonts on an iPhone is beneficial and how this simple customization can enhance your overall user experience.
Why Install Fonts on iPhone?
Custom fonts can elevate the look and feel of your iPhone by enabling you to have more creative control over your text. Whether you’re crafting social media content, creating presentations, or customizing your iPhone’s appearance, the ability to use different fonts can help you stand out. Here’s a breakdown of why font customization is essential:
- Brand Identity: If you’re using your iPhone for business, having access to different fonts allows you to maintain a consistent and professional brand identity across all your documents and presentations.
- Creativity: Fonts bring out creativity. Artists, designers, and content creators often need a diverse set of fonts to suit various design styles. With more fonts, the sky is the limit when it comes to expressing yourself.
- Functionality: Using distinct fonts can help organize content visually, making it easier to differentiate headings, subheadings, body text, and more. This functionality can be essential when working on documents, PDFs, and presentations.
- Personalization: One of the main reasons people love customizing their iPhones is to personalize their experience. Changing fonts can make your device feel more unique to you.
Now that we know why font installation matters, let’s explore how you can install fonts on iPhone.
Prerequisites for Install Fonts on iPhone
Before you get started, it’s essential to make sure that your iPhone is running the latest version of iOS. Apple introduced native font support in iOS 13 and above, so if your iPhone is running an older version, you’ll need to update to at least iOS 13 or newer.
You can check and update your iPhone’s software by going to Settings > General > Software Update. If an update is available, it’s recommended to download and install it before proceeding.
Additionally, keep in mind that some apps may require specific font installation steps, while others allow direct integration with font management apps. There are several methods you can use to install fonts on iPhone, and we’ll cover the most popular and reliable ones in this guide.
Method 1: Using the Apple Fonts App
Since iOS 13, Apple has provided the option to install custom fonts directly through the Fonts app. This native functionality allows users to integrate third-party fonts into their system. The process is fairly straightforward.
Steps to Install Fonts via the Apple Fonts App:
- Open the App Store: The first step is to download and install a third-party font management app. Some popular apps for this purpose include AnyFont and Font Diner. Search for a font management app that fits your needs and install it.
- Install the Font Management App: Once the app is installed, open it, and browse through the font collections available. Some apps allow free fonts, while others may require in-app purchases or a one-time fee for premium fonts.
- Select a Font: Once inside the app, you’ll be able to browse through different font styles. Tap on the font you want to install. Some apps offer the ability to preview fonts before downloading.
- Download the Font: After selecting a font, tap Install. The app may ask for permission to install the font profile to your device, and you’ll need to allow this in order for the font to be available system-wide.
- Confirm the Installation: Go to Settings > General > Profiles & Device Management, and you’ll see the font profile listed there. Tap on it to confirm and finalize the installation.
- Start Using Your Fonts: Once the font is installed, you can start using it in various apps that support custom fonts, such as Pages, Keynote, and Microsoft Word.
Method 2: Using Fonts from Online Websites
If you don’t want to rely on third-party apps from the App Store, you can also install fonts from websites offering font downloads. Here, you need to manually download the fonts and install them using a file manager app or font management app.
Steps to Install Fonts from Websites:
- Find a Font: Search for a website that offers free font downloads, such as Google Fonts, DaFont, or Font Squirrel.
- Download the Font: Once you’ve found a font you like, download the font file to your iPhone. Usually, the fonts are in .ttf or .otf formats. You may need a file management app like Documents by Readdle or iCloud Drive to store the font files.
- Install the Font: Using the font management app, select the downloaded font file and follow the on-screen instructions to install it on your iPhone. This process may involve opening the font file in an app like AnyFont for easy integration.
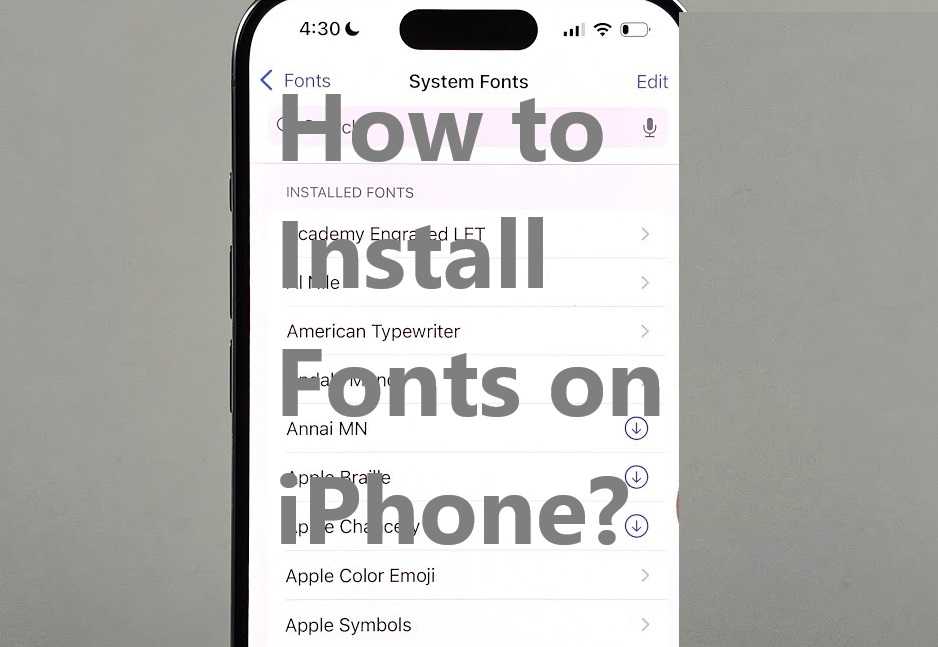
- Enable the Font: Once installed, go to Settings > General > Fonts and enable the font you just added. The font will then become available in compatible apps.
Method 3: Install Fonts on iPhone for Use in Specific Apps
Some apps, particularly those in the creative field like Canva, Adobe Spark, and Over, allow you to install fonts for use exclusively within their platform. While these fonts won’t be available for general system use, they can still help you create standout content directly within the app.
Steps for Installing Fonts in App-Specific Scenarios:
- Download the App: Open the App Store and search for the app where you want to install the font. Examples include Canva, Over, and Adobe Spark.
- Install the Font: Within the app’s settings or font selection area, you may have the option to upload custom fonts. This process usually involves selecting a font file from your device and uploading it directly into the app.
- Use the Font: After the font is installed, you can use it for text within the app. Note that these fonts will not be available system-wide but will only function within the app itself.
Method 4: Using iCloud to Sync Fonts Across Devices
If you use multiple Apple devices and want to use the same fonts across your iPhone, iPad, and Mac, iCloud makes it easy to sync the fonts you’ve installed. By ensuring that iCloud Drive is enabled and syncing your font files, you can access the same font library across all your Apple devices.
- Enable iCloud Drive: On your iPhone, go to Settings > [Your Name] > iCloud, and ensure iCloud Drive is enabled.
- Upload Fonts to iCloud: Using a file management app or computer, upload your font files (e.g., .ttf or .otf) to your iCloud Drive.
- Access Fonts on Other Devices: Once synced, open iCloud Drive on your iPad or Mac and access your fonts. They can now be installed and used just like on your iPhone.
How to Use Installed Fonts on iPhone?
After you have successfully installed custom fonts, the next step is to use them in your favorite apps. Many iPhone apps, especially word processors, design apps, and email clients, support the use of custom fonts.
- Pages and Keynote: If you use Apple’s Pages or Keynote, simply open your document, select the text you want to change, and choose the custom font from the font selection menu.
- Microsoft Word: In Microsoft Word, you can access the newly installed fonts directly from the app’s font menu. Tap on the text box you want to modify and select the font you want from the font list.
- Social Media: Apps like Instagram and Facebook don’t directly support custom fonts; however, you can use third-party apps or websites (such as Cool Fonts or Font Changer) to generate text with the desired font, then copy and paste it into your posts.
- Design Apps: Creative apps like Canva and Adobe Spark allow you to upload fonts within their platform. Once installed, you can use your custom font for designing posts, presentations, and advertisements.
Troubleshooting Font Installation Issues
If you encounter problems while installing or using fonts on your iPhone, here are a few troubleshooting tips:
- Font Not Showing Up: Ensure that you’ve completed the installation process properly and check if the font is enabled in the Profiles & Device Management section.
- App Compatibility: Some apps may not support certain font formats or may not allow custom fonts at all. Make sure you’re using an app that is compatible with custom font installations.
- Font Format Issues: Fonts come in various file formats (such as .otf and .ttf), but some apps may only support one format. If you encounter an issue, consider converting the font file to a different format or using another app to handle it.
Conclusion
Install fonts on iPhone is a great way to add creativity, personality, and professionalism to your work. Whether you’re designing graphics, writing a report, or making social media posts, having access to unique fonts can make a world of difference in how your content is perceived. With the steps provided in this guide, you’ll be able to install and use custom fonts with ease.
By following the appropriate method for your needs, you can enjoy a vast collection of fonts and enhance your design projects. Remember to always use fonts responsibly and ensure that you have the proper licenses, especially if you’re using them for commercial purposes.
Stay creative and enjoy the endless possibilities that come with font customization on your iPhone!
Read Also : How to Install Fonts on Figma?