Visual Studio Code (VS Code) is one of the most popular code editors among developers, and integrating Git with VS Code allows you to manage version control directly from within the editor. Whether you’re working on solo projects or collaborating with teams, having Git set up in VS Code can make your workflow much more efficient. In this guide, we will show you how to install Git on Visual Studio Code, step by step.
What is Visual Studio Code and Why Integrate Git?
What is Visual Studio Code?
Visual Studio Code (VS Code) is a free, open-source code editor developed by Microsoft. It’s packed with features like syntax highlighting, IntelliSense (auto-completion), debugging tools, and extensions, making it an excellent choice for developers working in various programming languages.
Why Integrate Git with VS Code?
Git integration in VS Code provides a seamless experience for version control. With Git built directly into the editor, you can:
- Commit Changes: Track changes to your code and commit them without leaving the editor.
- Manage Branches: Switch between branches and create new ones easily.
- Push/Pull to Remote Repositories: Interact with remote repositories such as GitHub, GitLab, or Bitbucket directly from the editor.
- Visual Diffing: VS Code offers an easy-to-use interface for viewing differences between files and versions.
Now that you know why integrating Git into Visual Studio Code is useful, let’s move on to how you can install Git and set it up.
Pre-requisites: What You Need Before Install Git on Visual Studio Code
Before integrating Git into VS Code, there are a few things you should ensure are in place:
- Install Git: Git needs to be installed on your system before you can use it in VS Code. If you haven’t installed Git yet, follow these steps:
- Download Git from the official website.
- Follow the installation steps based on your operating system (Windows, macOS, or Linux).
- VS Code Installed: You should already have Visual Studio Code installed. If you haven’t installed it, download it from the official Visual Studio Code website and install it.
- Command Line or Terminal: Git commands will be run from the integrated terminal in VS Code, so having a working terminal on your system (Command Prompt on Windows, Terminal on macOS, or your Linux terminal) is required.
Let’s dive into the steps for installing Git on Visual Studio Code.
How to Configure and Install Git on Visual Studio Code?
Step 1: Install Git on Your System
If you don’t have Git installed yet, follow these steps to install it:
For Windows:
- Download the Git installer from Git for Windows.
- Run the installer and follow the setup wizard. Select the default options, including adding Git to your system PATH.
- After installation, you can confirm by opening the Command Prompt and typing:cssCopy
git --version
For macOS:
- You can install Git using Homebrew with the following command:Copy
brew install gitAlternatively, you can download the Git installer from the official Git website.
For Linux:
- You can install Git through your package manager. For example:
- On Ubuntu/Debian:sqlCopy
sudo apt update sudo apt install git - On Fedora:Copy
sudo dnf install git
- On Ubuntu/Debian:sqlCopy
Once Git is installed on your system, confirm the installation by typing git --version in your terminal.
Step 2: Install Visual Studio Code
If you haven’t already installed Visual Studio Code, download it from the official website and follow the installation instructions for your operating system.
Step 3: Install the Git Extension in Visual Studio Code
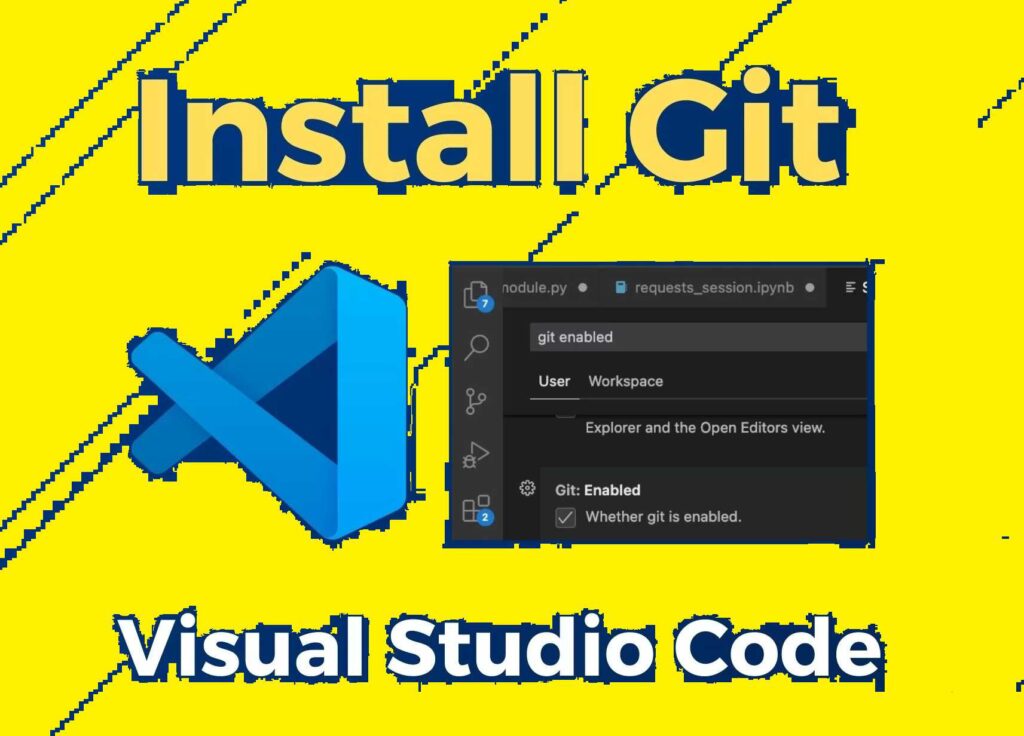
Once you have Visual Studio Code installed, you need to install the Git extension. Fortunately, Git support is built-in by default in VS Code, so you don’t need to install any third-party extensions for basic Git functionality.
Step 4: Configure Git in Visual Studio Code
Once Git is installed, you’ll need to configure your username and email. This is required for Git to associate your commits with your identity. Open the terminal in Visual Studio Code and use the following commands:
- Set your username:arduinoCopy
git config --global user.name "Your Name" - Set your email:arduinoCopy
git config --global user.email "youremail@example.com"
These settings will apply globally to all repositories on your system.
Step 5: Verify Git Integration in Visual Studio Code
Now that Git is installed and configured, it’s time to verify that Visual Studio Code recognizes it.
- Open Visual Studio Code.
- Open the Source Control tab by clicking the Git icon on the left sidebar, or press
Ctrl + Shift + G(Windows/Linux) orCmd + Shift + G(macOS). - If you see a message like “No Source Control providers registered,” it means Git has not yet been initialized in the current folder.
- To initialize a Git repository, open a folder in VS Code and use the following command in the integrated terminal:csharpCopy
git init
- To initialize a Git repository, open a folder in VS Code and use the following command in the integrated terminal:csharpCopy
- After initializing the repository, VS Code will automatically detect it and show the changes made to the files in the Source Control tab.
Step 6: Use Git in Visual Studio Code
With Git installed and configured, you can start using it within Visual Studio Code:
Commit Changes:
- Open the Source Control tab (
Ctrl + Shift + G). - You will see a list of files that have been modified.
- Type a commit message in the input box and click the checkmark icon to commit your changes.
Push Changes:
- After committing your changes, you can push them to a remote repository like GitHub.
- Click the ellipsis (three dots) in the Source Control tab and select Push to push your changes.
Pull Changes:
- To pull the latest changes from your remote repository, click the ellipsis in the Source Control tab and select Pull.
View Git Log:
- To view your commit history, click on the Source Control tab and then the … (three dots).
- Select View History to view your Git log.
Step 7: Setting Up GitHub Integration (Optional)
If you want to link your GitHub account to Visual Studio Code for a seamless workflow, follow these steps:
- Install the GitHub Extension:
- Go to the Extensions view (
Ctrl + Shift + X). - Search for “GitHub” and install the GitHub Pull Requests and Issues extension.
- Go to the Extensions view (
- Authenticate GitHub: After installation, click on Sign in to GitHub from the Source Control panel. This will allow you to authenticate and link your GitHub account directly within VS Code.
Now, you can manage GitHub repositories, create pull requests, and track issues directly from within Visual Studio Code!
Troubleshooting Common Issues
While installing and setting up Git on Visual Studio Code is usually straightforward, here are a few common issues and solutions:
Issue 1: Git is Not Recognized in Visual Studio Code
If VS Code doesn’t recognize Git after installation:
- Ensure Git is installed correctly by running
git --versionin the terminal. - Make sure Git is included in your system’s PATH. If not, re-run the Git installer and select the appropriate PATH option.
Issue 2: Unable to Commit or Push Changes
If you’re unable to commit or push changes:
- Check that you’ve initialized a Git repository (
git init) in the project folder. - Verify that you have configured your Git username and email correctly.
- Ensure you have set up a remote repository if you’re trying to push changes.
Issue 3: Git Is Not Showing in the Source Control Panel
If Git doesn’t show up in the Source Control panel:
- Ensure you’re working in a folder that has been initialized as a Git repository (
git init). - Refresh the workspace by closing and reopening VS Code.
Conclusion
Install Git on Visual Studio Code is an excellent way to streamline your development workflow. By following the steps outlined in this guide, you’ll be able to set up Git on Visual Studio Code and begin managing your code repositories directly from the editor. Whether you’re collaborating on a project or managing your personal code, Git integration in VS Code offers a seamless and efficient experience.
Ready to take your Git skills further? Explore advanced features like branching, merging, and working with remote repositories to fully harness the power of Git in your development workflow.
Read Also : How to Install Git Bash?